Popcorn Ceiling Removal – Doing it the Right Way
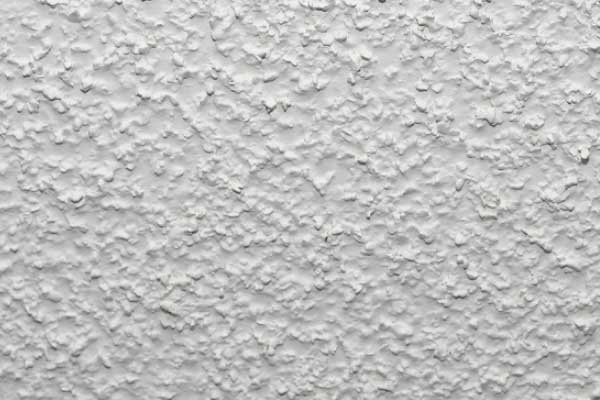
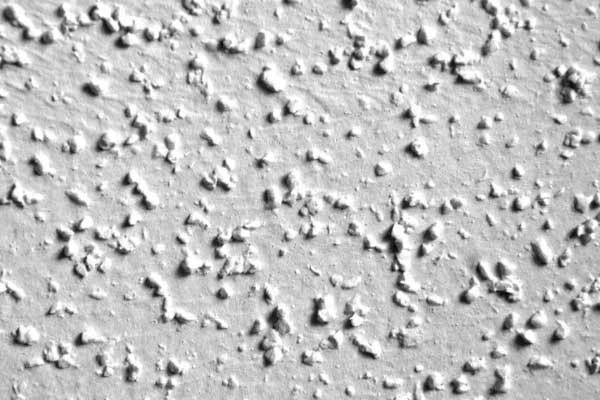
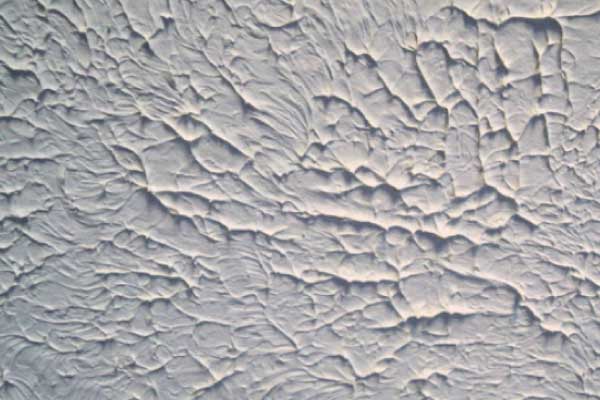
Chances are, if you have a popcorn ceiling, you do not actually want a popcorn ceiling. Popcorn ceilings are a dated 1950s home trend that is really only good for collecting dust and cobwebs. There are several things to consider when tackling a do-it-yourself popcorn ceiling removal project in order to do the right way.
First, before doing any removal, you will need to test your ceiling for asbestos and lead. If your home was built before 1980, this is vitally important. Any removal of asbestos and lead-tainted materials will put these harmful particulates in the air, which is detrimental to your health and safety.
You should purchase asbestos and lead test kits at your local hardware store and if the tests come back positive, it will be necessary to hire a professional abatement contractor to remove your popcorn ceilings (which can be very costly), or you may consider covering the ceilings with new drywall, tongue and groove planks, or some other ceiling finish.
The cover-up route may also be preferred if the popcorn ceiling substrate (drywall) is in poor repair and will be unsightly even with the popcorn texture removed.
Once you’ve determined your popcorn ceiling is lead and asbestos free and your substrate is in decent condition, you’ll need to determine if the popcorn texture has been painted. If painted, the popcorn texture can still likely be removed but may take a little extra effort.
In either case, take a test scrape off the ceiling to determine if the texture can be removed easily. You may also dampen the ceiling lightly with water (using a garden sprayer) and test for ease of scraping. Be sure not to over saturate the ceiling, as this could damage the drywall substrate.
For this reason, there are differing schools of thought on scraping popcorn ceilings wet or dry. Many pros will recommend scraping dry, if at all possible. This is mainly due to the potential of over-saturation weighing the substrate down and causing unwanted cracking damage.
In either case, upon testing to confirm the popcorn texture is removable, proper room preparation will limit the excessive mess popcorn ceiling removal makes.
To prep the room, your best bet is to remove all of the furniture and light fixtures to allow yourself to work in a completely empty space with no hindrances. If removing light fixtures, be sure to remove all electric current by opening the breaker at your electrical panel. Next, lay down plastic sheeting over all floor surfaces and drape the walls with plastic. You’re now ready to begin scraping.
When scraping, use a large drywall finishing knife (4” or so) and file down the sharp corners to prevent gouging of the substrate. If spraying the popcorn texture with water, work in small sections of the ceiling (4’ x 4’) and allow the water to penetrate the texture for approximately 10 to 15 minutes before scraping. If your popcorn ceiling is painted, use a mixture of one part vinegar to ten parts water and spray the texture with the mixture.
If this method does not break down the paint enough to scrape, you may consider using a paint stripper to assist. Note that most paint strippers are toxic and proper ventilation will be necessary if used.
Once all of the popcorn texture is removed, examine the drywall substrate and patch any gouges, cracks, holes, etc. with drywall joint compound. Next, sand the entire ceiling (including any drywall repairs) to a smooth, seamless finish. Finally, prime and paint the ceiling for a complete updated look to your room.
Hardware Store List:
– Lead & Asbestos Test Kits
– Large Drywall Finishing Knife
– Metal File
– Garden Sprayer
– Painter’s Plastic
– Vinegar or Paint Stripper (if popcorn is painted)
– Drywall Repair Materials
– Drywall Sand Paper
– Extension Pole
– Step Ladder


